
|
| |
|
Summary: Learn how to write macros for PPWizard and use them to implement nifty and time-saving widgets for your web pages. Widgets and MacrosCatch-Up: If the instructions in this column make no sense to you then perhaps you need to freshen up on PPWizard and Rexx. Catch-up by reading these columns first:
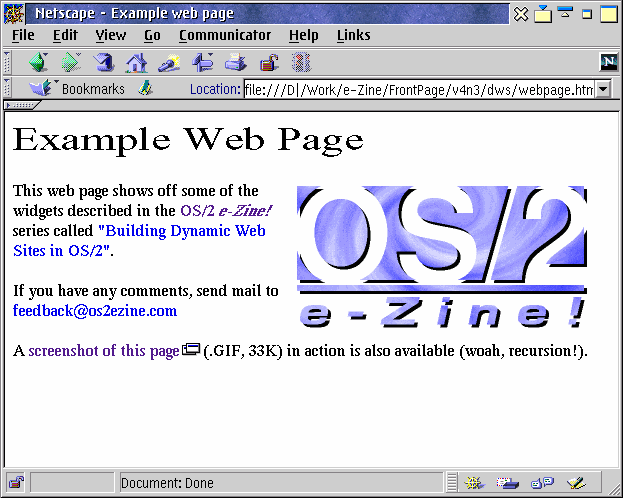
In the latest releases of PPWizard -- arguably now the most powerful pre-processor for HTML, Rexx, INF or otherwise -- there have been a lot of improvements that make it extremely easy to add what web developers drool over: widgets. You've probably seen a few crop up here in the pages of OS/2 e-Zine! as I play with this program myself. The most recent are the improved screenshot links that include a button for optionally viewing the screenshot in a pop-up Javascript window, but omit that button from the Printer-Friendly version to help save ink and make life easier for Lynx users. These links are created by a macro that PPWizard interprets, and while all I do is give the name of the screenshot's file and the text to link it with, the macro figures out 1) the file's size, rounded to the nearest K; 2) the file type; 3) the image's dimensions; and 4) the Javascript code to open the pop-up window. These are what I call labor saving devices for webmasters, and here I'm not only going to teach you how to make your own, I'm also going to give away a few e-Zine! trade secrets. What is a Macro?A macro, in PPWizard terms, is a lot like the functions you might write in C, Java or some other programming language. It's an encapsulated portion of code that works almost autonomously and accepts parameters to alter its behavior. Here's an example of a simple one that creates an e-mail link: #define Email <a href="mailto:{$address}">{$address}</a> In your web pages you could then call the macro like this: <$Email address="feedback@os2ezine.com"> And after "compiling" the page with PPWizard, it would produce a functioning link like this: If you've been reading the Dynamic Web Sites series so far, you'll notice the standard convention for calling #defined variables (embed the variable's name in a tag, preceded by a dollar sign, like this "<$variable_name>"). You'll also notice a new one, where curly brackets were used instead of pointed ones. In our example, this was "{$address}". The curly brackets tell PPWizard to look for a parameter with that same name. Of course, you can name parameters anything you like, and you can have as many as you like. You can also make a parameter optional by telling the macro to give it a default value. For example, let's say we use the "feedback@os2ezine.com" address all the time, but also occasionally use other addresses in our web pages. For convenience, we'd like every <$Email> tag to point to the feedback address by default, but we'd also like to override that. Here's how you'd do it: #define Email <a href="mailto:{$address='feedback@os2ezine.com'}>{$address}</a> In between the curly brackets, after naming the parameter, we added an equals sign and gave it a default value: our feedback address. As long as you give a parameter a default value at least once at the beginning of the macro, PPWizard will use that default everywhere else in the same macro. That's why we only had to type the feedback address in once, even though we used the {$address} tag a second time. Now, all we have to do to insert our feedback address anywhere in a web page is type: <$Email> And PPWizard, once run, will resolve it to a complete and functioning link that looks like this in a browser: But if we wanted to override the default with a different address, it's easy. We type this in our web page's source: <$Email address="editor@os2ezine.com"> And PPWizard resolves it to this: Correctly linked, simple and easy. But what makes Macros really show their power is when you start treating them as fully programmable objects. Imagine what my problem was: I had to add links to a lot of screenshots in every issue of OS/2 e-Zine! The traditional way called for me to look up the screenshot's filename, go back to the HTML document, paste it in, go back and find it's file size, go back to the HTML document and paste that in, type the file's extension in the little parenthesis, and type the "<A HREF>" business to make it link properly. Boring stuff. So I wrote a macro to do it for me, one which only asks for two parameters: The screenshot's file name and the text to link to it with. The call, in the body of the "uncompiled" article, looks a bit like this: <$Screenshot shot="screen1.gif" text="This is a sample screenshot"> And when "compiled" with PPWizard it looks like this: This is a sample screenshot(.GIF, 33K) When it came to writing the macro itself I started with the simplest functionality: #define Screenshot <a href="{$shot}">{$text}</a> All that would do is link the image to the text and is barely worth getting excited about. But I still had all those trips I had to make back and forth between a directory listing and the file I was editing. So I started building and expanded the macro to this:
#define Screenshot \
        #evaluate+ rc "SysFileTree('{$Shot}', 'hh_Tree', 'F')"  -\
        #evaluate '' "Parse var hh_tree.1 hh_date hh_time hh_size remains"  -\
        #evaluate+ hh_size "Left( hh_size + 500, length( hh_size) - 3)"  -\
        ;--- Supply the standard link -------------------------------  -\
        <a href="{$shot}">{$text}</a>  -\
        ;--- Label it with the file size ----------------------------  -\
        (<$hh_size>K)
I've got some explaining to do. First of all, the "dash-slashes" ( -\ ) at the end of each line tell PPWizard that the macro is continued on the next line. Otherwise it'd assume the macro ended before we got to the first #evaluate line. PPWizard doesn't yet have any "Begin/End" pairs that you find in other languages for marking the boundries of functions and macros. Secondly, the #evaluate statements tell PPWizard to execute a line of Rexx code. They take the following syntax: #evaluate name_of_variable_to_store_results_in "Rexx code to run" The variable that you store the results in will be a PPWizard variable, not a Rexx variable. There is a difference! What we were doing in those three #evaluate lines was this:
I should point out that this rounding mechanism is only as simple as it is because Rexx can interchangeably treat variables as strings of characters, or as numbers; even in the same line. At the beginning we treat it as a number by adding 500 to it. But then we're suddenly treating it as a string of characters again; measuring its length in digits and dropping the last three with the LEFT function. This is not always something you can get away with in other programming languages. There's a comment just after the #evaluate lines. PPWizard ignores any line that begins with a semi-colon, so we use it to stick in a reminder. The line just after it inserts a simple link to the screenshot. The next line inserts our rounded file size in the parenthesis, appending it with the letter "K" so the reader knows what kind of measurement it is. As it's the last line of the macro, we don't put a "dash-slash" ( -\ ) at the end of it. The code to put the file type (".GIF") in the parenthesis too was even easier, just grab the last 4 characters of the file name. In addition, I also used one of PPWizard's built-in functions called GetImageWidthHeight which, after passing it the filename of a GIF or JPG image, will return the "WIDTH=xxx HEIGHT=xxx" parameters that you can put in an <IMG> tag. But in this case, I used it to size the Javascript pop-up window instead. It's a handy alternative to jumping back and forth between your HTML editor and PMView just to get an inline image's tag right. This final version of the multipurpose, widget-enhanced screenshot-linking macro with the pop-up Javascript windows is included in the ZIP file attached to this article. It also includes the e-mail macro and an "easy peasy" image macro that not only figures out the picture's dimensions by itself, but also sets a default (and override-able) ALT and ALIGN tag. There's a sample web page in there that uses all the tags too, so you can easily see how to use them in your own pages. Download the source for this week's article: dws.zip (53K)
|
| | |
| Copyright © 1999 - Falcon Networking | ISSN 1203-5696 | February 16, 1999 |